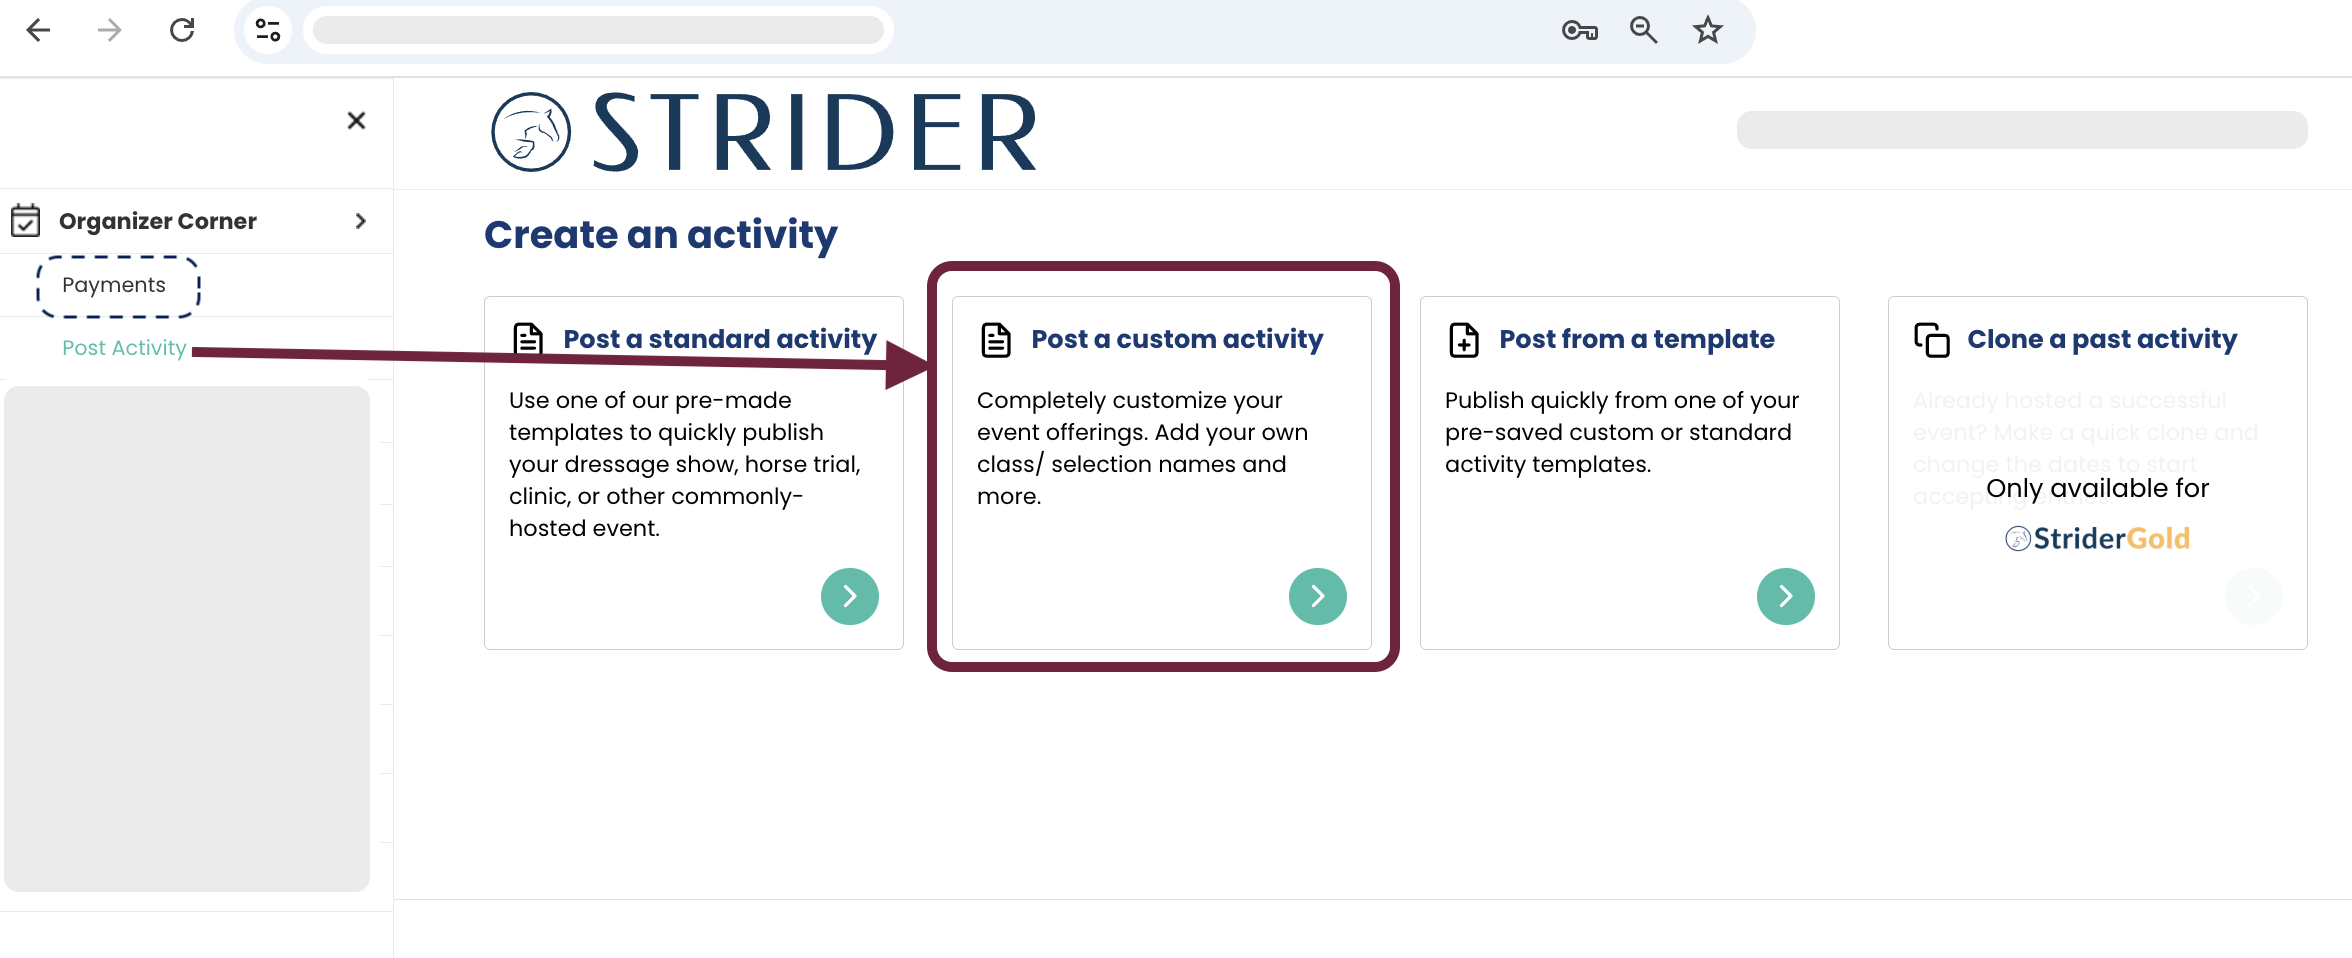
Step 3: Customize Your Activity
Everything you enter here helps your event stand out — both on STRIDER and in Google search results. Well-written details and a strong image make it easier for new riders to find, trust, and enter your activity.
Add Entry Details
Include your event name, dates, times, location, and any other key information riders need to register with confidence.
Add a Photo
Upload a clear, high-resolution image that makes your activity visually appealing and searchable.
-
Google often deprioritizes images with text overlays — so stick with clean photos
-
Great options include: riders in motion, your showgrounds, or fun behind-the-scenes moments
Name Your Selections & Services
Create custom classes, levels, or optional add-ons to give riders a clear entry experience.
Set Entry Limits
Cap the number of entries per class or service to prevent overbooking and manage your schedule.
Choose Where Rider Payments Go (StriderPay)
All rider payments are processed through StriderPay, which must be linked to your organizer profile.
You can connect multiple payout accounts and choose which one should receive funds for each activity.
Step 4: Publish & Promote
When you’re ready, click Publish to make your activity live on the STRIDER calendar.
📣 STRIDER automatically creates a dedicated event page for every activity — and that page can appear in Google search results and on our industry media partner sites like Eventing Nation, giving your event even more reach.
Share your custom event link for your STRIDER page by email, social media, or anywhere your riders are.
The faster you publish, the sooner riders can find, share, and enter your activity!